
How to Navigate the Grand Theft Auto IV Map: A Step-by-Step Guide to Liberty City Districts
Learn how to read the Grand Theft Auto IV map in practical steps: identify the four main islands, learn district names and road flow, use in-game navigation tools, and build a mental map of Liberty City landmarks.
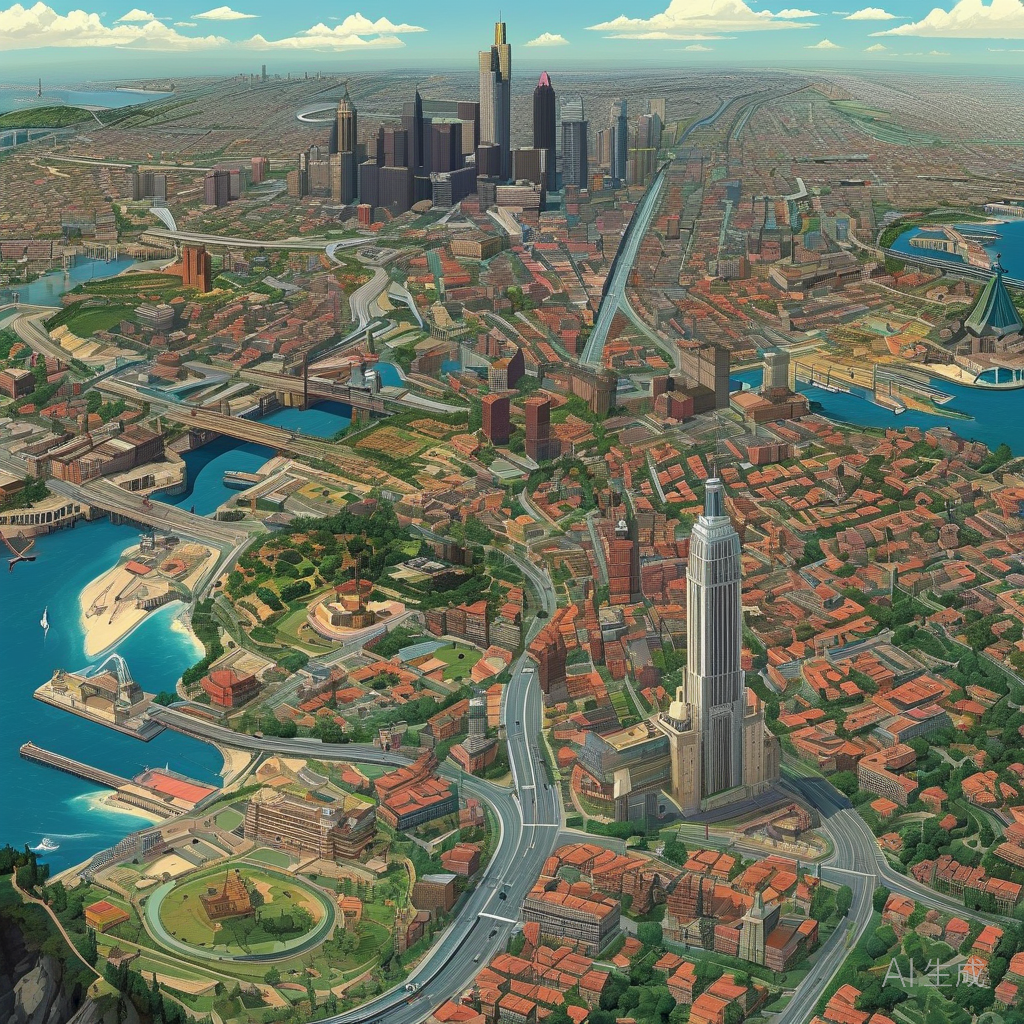
How to Navigate the Grand Theft Auto IV Map: A Step-by-Step Guide to Liberty City Districts
The Grand Theft Auto IV map is the full playable area of Liberty City. It is divided into several major islands and districts, and each one has its own street layout, landmarks, and traffic character. This guide walks you through reading that map methodically, so you can plan routes and orient yourself without relying on trial and error.
These steps focus on how the map is structured and how to use the in-game tools that ship with the game. Exact landmark positions can differ between versions and platforms, so verify anything specific in your own copy of the game.
Prerequisites
- Access to Grand Theft Auto IV or Grand Theft Auto IV: The Complete Edition.
- The in-game map and minimap, which are part of the standard game interface.
- A little patience: Liberty City is dense, and the road network is not a simple grid.
Step 1: Open the Map and Identify the Major Islands
Start by opening the in-game map rather than trying to memorize the world from street level.
- Pause the game and open the map screen, or use the minimap for quick reference during play.
- Look at the overall silhouette. Liberty City is made up of several distinct landmasses separated by water.
- Note which landmasses are accessible at your current point in the story. Bridges and tunnels connect some areas, and access can be restricted early on.
The key outcome of this step is a rough mental picture of the city's shape: a central cluster of islands with water between them. Every later step builds on that outline.
Caution: Story progress can affect where you can travel freely. If a route seems blocked, the map may be showing a locked area rather than an error.
Step 2: Learn the District Names and Their Roles
Once you can see the islands, zoom in and read the district labels. Liberty City districts group into recognizable themes:
- Broker and Dukes: the eastern boroughs, with residential streets and a mix of suburban and urban blocks.
- Bohan: a northern area with a grittier, denser feel.
- Algonquin: the central island, modelled on a dense Manhattan-style borough with tall buildings and a grid-like street pattern.
- Alderney: the western landmass, with industrial areas and suburban stretches.
Observable outcome: you should be able to name the district under your cursor and describe it in one sentence, such as "Algonquin — central, dense, grid streets."
Caution: District names in the game are fictional parodies. If you are comparing the map to real-world New York, treat the parallels as inspiration, not as a one-to-one address system.
Step 3: Read the Road Hierarchy
Liberty City's roads are not uniform. Some are wide arteries, some are narrow side streets, and some are raised highways.
- On the map, distinguish wide multi-lane roads from thin local streets.
- Follow one main road from end to end on the map to see how it connects districts.
- Notice where roads meet water: bridges and tunnels are the only crossings, and they become choke points.
- Look for highway ramps. Raised roads may not connect directly to the street below.
Outcome: a route plan that favors main roads for long distances and local streets for the final approach.
Caution: following the map too literally can lead you to a bridge entrance on the wrong level. Watch for ramps and elevation changes.
Step 4: Use the Minimap and GPS Route Line
The minimap is your moment-to-moment navigation tool, and the game's route guidance draws a line on it.
- Set a destination waypoint on the map screen.
- Watch the route line on the minimap as you drive.
- If the line reroutes, you have likely missed a turn or the road is not drivable in that direction.
- Use the minimap's orientation to confirm which way your vehicle is facing before committing to a turn.
Outcome: you stay oriented during chases and deliveries without pausing to open the full map.
Caution: route guidance follows the road network, not your driving skill. It will not warn you about tight corners or heavy traffic.
Step 5: Build a Landmark-Based Mental Map
Landmarks are easier to remember than street names. Use them as anchors.
- Look for large, distinctive structures visible from a distance: bridges, tall towers, stadiums, and waterfront edges.
- Link each landmark to the nearest district label on the map.
- Practice travelling between two landmarks without opening the full map.
Outcome: you can estimate your position from what you see, not just from the minimap.
Caution: not every landmark is visible from every angle. Weather and time of day can reduce visibility.
Step 6: Practice Short Routes Before Long Ones
Navigation improves with repetition. Start small.
- Pick two points within the same district and drive the route three times.
- Then pick two points in different districts connected by a bridge.
- Finally, try a cross-city route that uses a highway.
Outcome: you learn where bottlenecks are and which roads are fastest at different times.
Step 7: Handle Water, Bridges, and Locked Areas
The map's water is a boundary, not a shortcut.
- Identify all bridge and tunnel crossings on the map before planning a route.
- Check that your destination is reachable without swimming.
- If an area is locked, complete the relevant story progress rather than hunting for another entrance.
Caution: vehicles can be lost in water, and swimming limits your options. Always confirm a land route first.
Step 8: Cross-Check the Map Against Your Version
Grand Theft Auto IV has been released in multiple forms, including the original game and Grand Theft Auto IV: The Complete Edition, which bundles the main story with Episodes from Liberty City. Menu layouts and map presentation can vary slightly by platform and edition, and mods can change the map entirely.
- Confirm which version you are playing.
- If you use mods, expect map and minimap changes.
- Verify any specific landmark or route in your own game rather than relying on another player's screenshots.
Outcome: advice you read online matches what you actually see.
Common Mistakes to Avoid
- Treating Liberty City as a grid: it is not, and diagonal roads and one-way streets matter.
- Ignoring elevation: highway ramps and bridges connect at specific points.
- Over-trusting the route line during chases, when a shortcut may be faster.
- Assuming a district's real-world inspiration gives you its street layout.
Quick Summary
| Step | Goal |
|---|---|
| 1 | Identify the main islands |
| 2 | Learn district names |
| 3 | Understand the road hierarchy |
| 4 | Use the minimap and route line |
| 5 | Anchor the map with landmarks |
| 6 | Practice short routes |
| 7 | Manage water and locked areas |
| 8 | Confirm details in your version |
With these steps, the Grand Theft Auto IV map becomes a tool rather than an obstacle. Start with the overall shape, then layer in districts, roads, and landmarks until Liberty City feels familiar.